Tuesday, December 25, 2012

The 3 Year Rule

Until I moved to France almost 5 years ago I had a 3 year rule for all of my UnFinished Objects (UFOs). If it sat, no matter what it was, for 3 years without me touching it, I would pull it out and evaluate it as to what to do with it. I find that after 3 years one tends to be less attached to things so if brutal methods need be taken, they are easier to do.

In ruffling through my UFOs, there are two things that could happen.

1.  I really am going to finish it someday and so it goes back onto the shelf with hopefully thought toward finishing it.

2.  There is no way I am going to finish it. In this particular case it is sorted out of its bag, fabric and materials back into my stash or in its entirety it is tossed out into the trash.
 
Nothing is exempt from the three year rule.
 
On one of the trips into the packed away things I found a kit.

The kit was from a week long licensing class I had taken just months before  moving to France. I had received the kit in class but I had never touched the kit, never opened it, never fondled the beautiful silk ribbon and satin materials inside the bag. When the licensing class was over the kit came back with me, intact, and had been stored away in a box.

The kit was everything I needed to make a Tea Cozy. Worthless to me really, since I do not own a teapot, hence the reason it had never been started. Even as a never opened kit, it was, by my definition, classified as a UFO and it was subject to the 3 year rule. Over the past 5 years I have wandered upon it twice when searching for other things. It was too pretty to break-up into its parts so it had be exempted from item number 2 above.

Last year, my mother asked if I had a pattern for a tea cozy. She enjoys tea and could not remember what had become of her old one. I remembered to kit somewhere in my stored away stash. With some lucky searching, it was almost like it had heard the news and had jumped to the top of the first box I opened, I was able to pull it out, find it's directions and threads and get it to a place where there would be a sewing machine available for construction.

I had the kit and instructions sent down to Florida, to my parents house, about 6 months ago when my little sister made a visit. During the holiday break, I was able to finally be in a place where I could make it. I have spent the last day doing just that. I am pleased to say that it is finished.

Now where is my cup of tea I was promised in trade?

Sunday, December 16, 2012

The Tablecloth


I belong to a Yahoo forum newsgroup and every year they host a Christmas ornament exchange. I watched it happen for years when I lived in the States, but it took moving to France for me to join in the yearly fun.  

This is now my fourth year participating. This year I had been waffling about what to make. I had decided that I was going to do an ornament that resembles the ones I had seen in Alsace France.  On one of my trips to Strasbourg I had even gone as far as buying a meter of a fabric I thought would be perfect for the design I had in mind. I had drafted the design, simple as it was. I had even cut one out and was in the process of experimenting on how best to sew it together along with thought on what type of embellishments it might need.

Well with some good plans, something unexpected comes along that just falls into place and says it is better the better choice.

A couple of months ago I was in a second hand store in Ludwigsburg Germany (near Stuttgart). In the stack of linens in the back room, I found a table cloth.  It was no longer a beautiful tablecloth, although it once had been. It had been given to the second hand shop with wear on it saying it was once well loved and used. Near the center of the tablecloth was a large stain that had been either coffee, or most likely red wine. The stain looked to be permanent and showed the fading that goes with an attempted cleaning process that had gone very wrong.  The table cloth was made out of a damask fabric. At equal intervals along with the pattern of the fabric there was a medallion of cross stitching in a darker color than the base color of the tablecloth. The tablecloth was light pink.

Pink is an unusual choice of colors unless of course you live in Germany. Germans have an interesting eye for color. Where France degrades into grey and black as the days get shorter and darker, the Germans refuse this lack of color. Pink therefore was not a surprising color to see for a tablecloth for use in any season.

In the second hand shop I laid out the tablecloth looking at it for some sort of idea of what I could do with it, if anything. The stain made it unusable for use as it was initially intended. The repurposing part of my brain sprung into action. Suddenly it occurred to me what I could do with it. Into my bag it went for the trip to the checkout counter. At checkout, the cost of the tablecloth was 50 euro cents or about 65 US cents. Worst case, I thought at the time of purchase was that I was out nothing, really, in cost since it made a great wrap for some wine glass I bought. A wrapping which would keep the glasses from breaking on the way back to France.

Thinking about it for just a moment, it is funny what is sold at second hand stores. Here was a damaged tablecloth, and it sounds crazy, but I bought it! Now it was to become the base to my Christmas ornament.
 
Fast forward... A couple of weeks ago I was in the Stuttgart area again for the weekend. A friend and I decided to go the Zweigart Factory outlet store. The last time I had been there it was actually in part of the old factory, It has been twenty years since my last visit. Now it is in a refurbished area capable of heat and good light. This was a vast improvement!
In the back room of the store, one can buy fabric by the kilo. All sorts of fabric sorted by type and fiber content  As I walked around this part of the shop, I could not help but notice the fabric and the design. I suddenly realized that my tablecloth and my soon to be Christmas ornaments for the exchange was made of Zweigart fabric! Suddenly I understood why someone did what they did embellishing the tablecloth. I am betting it was a kit. How fun.! If I knew who they were I would thank them for doing all that work for me so that I could cut it up. They did donate it to the second hand store after all so they cannot be mad about a little bit of scissor action.
I love cross stitch but it is one of those thread art forms I cannot do. I think it is because I can't count. In my defense, I can't knit or crochet either. These art forms take the same sort of counting that my brain does not want to do willingly. Very frustrating, but I am beyond that now. there are so many other things I can do and some of them well, so why dwell on what I do not find fun and appreciate someone else's workmanship. 
 

I cut out one of the designs, a simple heart, and started to play.
 
A French friend suggested a way to finish the edges. I needed beads so I was able to buy some nice ones that match in both France and the US. Most amazing and I suppose lucky, I bought 3 types of beads without having the fabric with me and all 3 matched!
 
Here is a picture of the prototype. As usual it is a far cry from the finished item. Frankly it was pretty horrible.
 
 
The cross stitch was not shown off very well, the ruching, although pretty needed something. Finally the tassel at the bottom was anemic.
 
I went back to the pattern and tried again. This time improving on the design.
 
Much better! This is the final design.
 
This ornament is a HUGE departure from what I normally do, but I like it. It is simple, interesting, light weight, European vintage and well, pink. The top tie is pink 1/8" silk ribbon that was threaded through the center bead.
 
The ruching was surprisingly easy to do . Shown is Step 1 - a running stitch curved in to a sort of half moon shape that extends in about 1/4".
 
Step 2 - Gather the half moon, take a stitch to secure it so it does not come un-done and then to add a bead and repeat with another half moon of running stitches. This is repeated all the way around the heart. I used a pink coordinating floche, not the black thread shown. It held up well and did not break.


Step 3 - Once all of the gathering and beads were in place, the tassel was made.
 
Tassels are done in many different ways, this is how I do mine. First I love texture so I used 7 different threads. I tossed in a metallic for a little shimmering effect. The threads are anywhere from 30 to 12 wt.


All 7 threads were wrapped around a piece of cardboard 30 times. The left over floche from the beading and ruching ( I did not cut it off when I was done) was then looped around the top of the wrapped thread and tightened into place before the card board was removed,
 
 
The thread was slid off of the cardboard and then holding the thread loop tightly, a threaded needle, this time with 3 of the threads was inserted though the center of the tassel. A half loop is made and the needle is inserted back in the same place it is in the picture. This was repeated twice so that when pulled the threads did not pull out.
 
 
The thread was then looped around the loop of thread 4 or 5 times. the needle was sent through the center, looped around again and then looped back through the center. One last loop and the thread is then inserted though the center to the bottom of the loop, the side away from the heart. threads were then clipped to make the tassel.
 I repeated this process making 5 hearts. Completing them all, they are now on their way to the other Christmas ornament participants. I hope they like them.

Tuesday, December 11, 2012

Teaching Children to Sew


As some of you know, teaching children to sew uses a very different skill set that does teaching adults to sew.

Adult students will fight with you on how something should be done even if they have no clue how to do it.

Children will willingly take orders from an adult teacher.

Adult students can problem solve. Machine not moving forward? Why is not sewing? They learn to stop and look.

Children don't quite have the problem solving ability yet, but it comes with time.

Adults will plow through sewing seams that look terrible, know they look terrible but continue anyway.

Children are not aware how bad something may look because they made it. They see beauty in what they have done.

Adults have the dexterity to make beautiful things with a sewing machine.

Children are developing those skills so some things might be just beyond their grasp for another year or two.

Earlier this year, a friend of mine approached me asking if I could teach her daughter to sew. Finding a sewing teacher in France is hard to find and expensive.  I am cheap, I work for good wine of which she and her husband have in their wondrous roman era cellar.

This child, 10 years old, is a fashionesta. I have never seen a child love fashion as much as this child. She wanted to learn to sew so that she could learn to make purses and bags mostly, but clothes as well.

Her mother, when we began, went out to buy a book of patterns. Do you have any idea how hard it is to find this type of thing? Something with patterns for the size of a 10to 12 year old female?

Well, I will tell you, It is hard, at least here in France.  Her mom found a book that her daughter liked the fashions inside but, the book sizing put her in the upper edge, actually just over the edge of the largest  of the pattern size in the book.  The book is a very good one by Yuki Araki.

This was the book they brought me. Sizing was going to be a challenge. But I am always up to a good challenge.
 
My 10 year old student had already found her first project. She wanted to make the purse. As I paged through the book I agreed with her, it would make a very good first project.
 
 
One small difficulty was having a book clearly written in French. So I tackled the pattern first. My logic being that I needed to make it first to see if I could read and understand the directions before having a 10 year old native French reader in my home wanting to make it. It is always good to be prepared.
 
As I have said before, I am a repurposer. I love to take old things and make new and useful items out of them. What better to use as our purse fabric than a pair of old worn out men's jeans? It turns out with left over's that a pair of men's jeans will make 2 purses. One for my test and one for my 10 year old. So here is the finished project.
It turned out very well, I think. The project taught straight line sewing and how to gather. We learned about stabilizer and why it is important in the lining. We learned how to apply buttons and we learned about several different feet that come with the machine and when we should use them and why. The elastic band that goes over the button keep the purse closed is actually a covered small hair rubber band. How cute!
 
On to project 2 and the last one we were able to do this year. It was a swing jacket.
 
Given (almost) free rein to dig though my stash, the fabric chosen by the student was the linen blend. She loved how soft it was and she has an eye for fabric. Not a surprise based on her fashion sense.
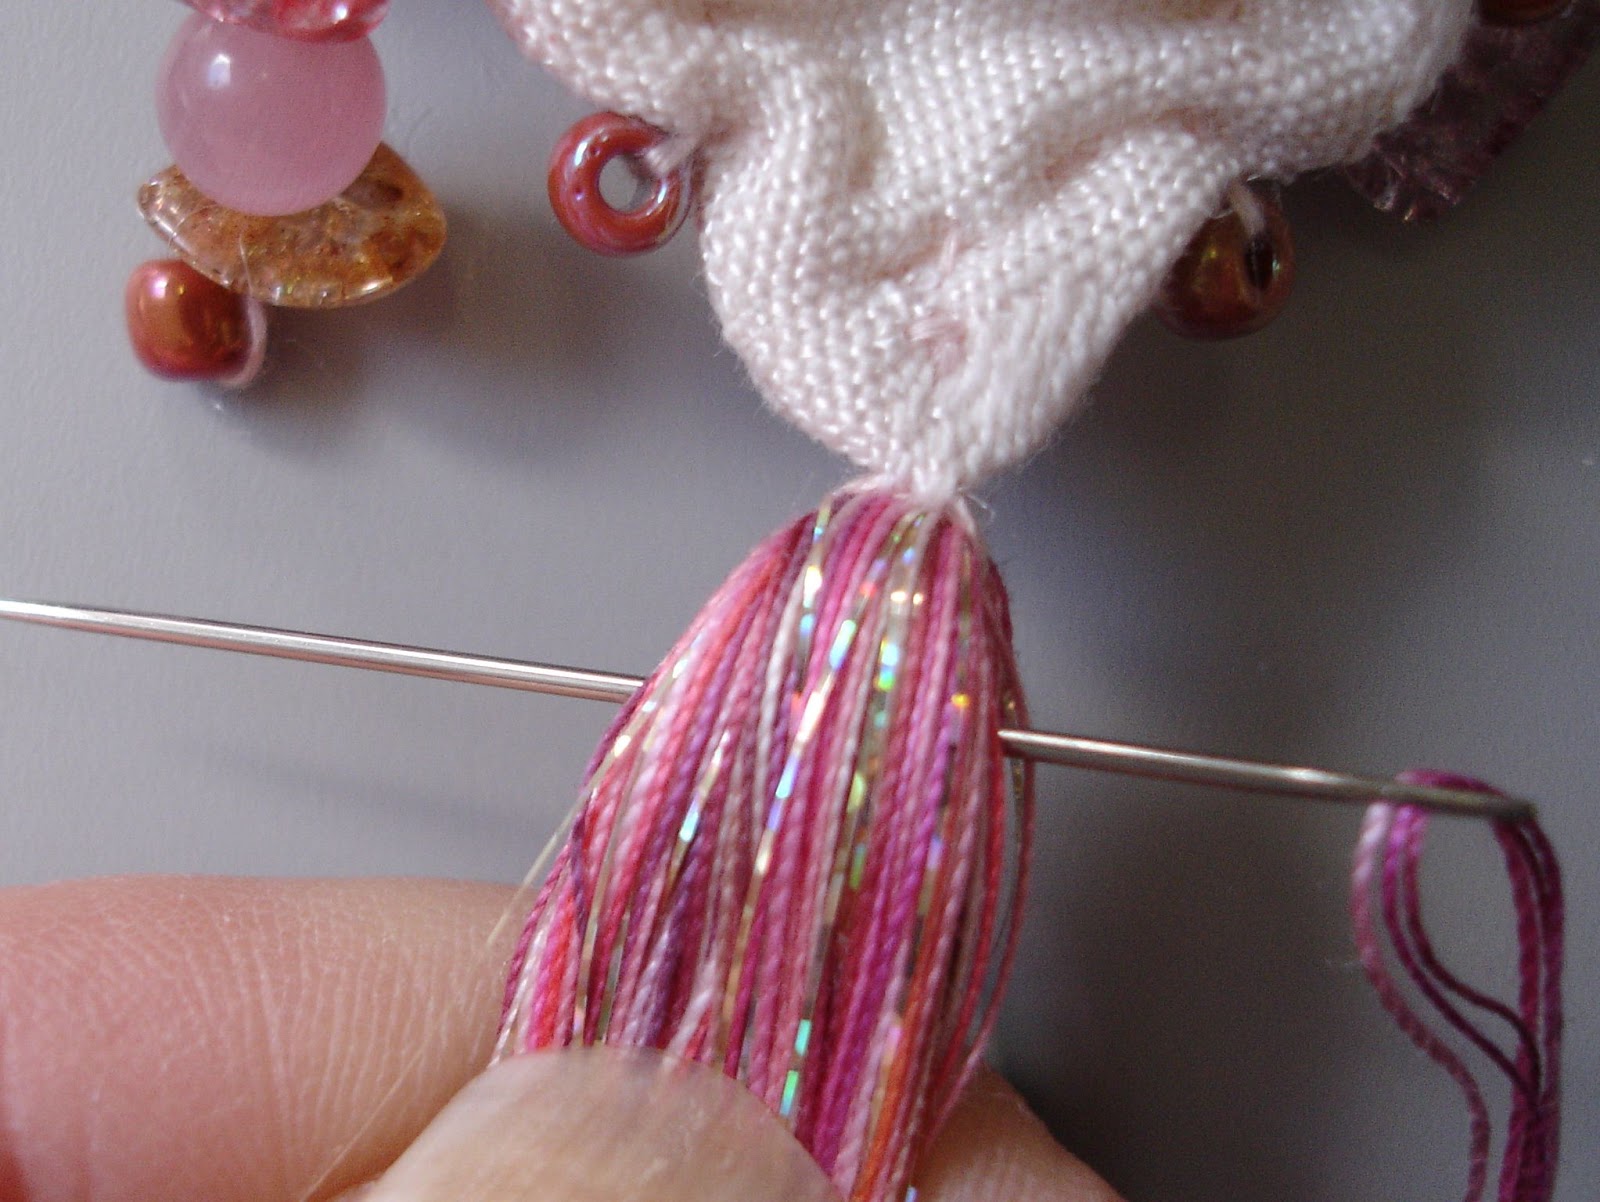
I want to draw your attention to the neck edge. Between things to do while I was preparing something for her to sew, she had the machine sewing. She had discovered all of those wonderful specialty stitches that most of us adults ignore. Watching her do that it occurred to me that the inside neck was the place to show those stitches off. Giving her a piece of woven tape, off she went choosing her favorite design in a color that suited her. The rayon thread she chose was dug out of the box containing all of my embroidery threads. Children have no fear where adults second guess and hesitate.
 
 
In this class we learned how to use a serger, how to make tucks and we were going to make button holes, only we never got there. Unfortunately, due to her school, our schedules have not met up for a while. She had gotten all the way to the button holes on a swing jacket So it sat, all complete except for the buttons.
 
Finally last weekend, knowing we would not meet until next year and that she is growing, I finished it.
 
I delivered it this last weekend to her. It still fits. Her mother marvelled at the fact that she had made most of it herself and for good reason. We will work on schedules next year. Hopefully we can continue her sewing adventure.


Wednesday, December 5, 2012

A Christmas Bag


Sometime earlier this year I took a sewing class at a shop in Bertrix Belgium called Stecker. It is a small shop with every brand of machine imaginable  They installed floor to ceiling shelves with every shelf filled with machines. If you want to test drive one, they take the machine off the shelf and place it in a center area where you can try it out. Economic times being what they are, the town has many empty shops. Across the street, the Stecker has taken over a store front where it offers classes.

So back to earlier this year. A friend and I took the trip to Belgium to take a class on making bags using something called Quiltsmart. I had never heard of this.  Basically the company Quiltsmart prints bag patterns on fusible interfacing. Your job is to iron it on to the wrong side of the bag fabric and then just sew the whole thing together following the lines. The cut-out areas are used as pockets later on. And the largest bag is reversible.

We "made" 3 bags that day. I say "made" because none of them were finished in the class.  I brought them home and there they sat collecting dust.

Being that it is Christmas season, I pulled out the Christmas bag that I had almost completed and just finished it. It took 30 minutes. The fabric came from my favorite fabric store in Strasbourg France called TOTO tissus. I bought 2 linen Christmas print fabrics several years back and when I saw what we were going to be making in the class, I could not help but choose those fabrics.

So here are some pictures.
 
Outside
Inside larger pocket
Inside smaller pocket


I love the pocket. I had to fussy cut that one to get it to work.

I have received lots of complements on this bag. I have found it to be just the right size to carry around what ever stuff I need to or to carry those items I have bought at the various Christmas markets one finds here in Europe this time of year.
 
So, on the  hunt to complete my next project...

Saturday, November 24, 2012

Irish lace collection

I just got back from a sewing conference in the States. It was a Sulky Certified Teacher Training course. Talk about fun! 3 days of sewing and most all, the kits and threads were provided. I highly recommend going to one.

http://www.sulky.com/training/training_index.php

On the second day there was a show and tell. I presented the Battenburg lace edging that I am making. It is coming along and I have almost enough for the bottom of a shirt. I still need enough for the arms and maybe around the neck. I have a lot of time before I have to decide what to make. For me lace making is slow going since I only work on it during flights or long car or train trips.

One woman at this conference is a lace enthusiast. When I told her I had some pieces from France stored away stateside, she asked if I would bring some of them it. The next day I walked in with a bag full. I had everything from old curtains made with crochet and handmade netting to lace bits.. She makes Princess Lace, beautiful work I might add, so her interest in this type of thing was high. I had one example of Princess lace, I have been told it is called Calais here, after the town in the north of France.  Princess lace is hard to find here. The piece I showed her is the only one I have run across and it was out of the box of lace I bought 2 years ago in Bourgogne (Burgundy). I call the box Yvonne and Suzanne (Y&S) after the two beautiful handkerchiefs I found amongst all the things in the box.  

As she Ooh-ed and Aah-ed I told her I had nicer things here in France and she made a special request. The request? She wants me to make her jealous showing her some of my collection of lace bits.

I will now attempt to do exactly that. May I present my bag of Irish and Irish wanna be lace bits.

We will start with the bag of bits.  Intriguing isn't it?

Digging into my bag, one thing I don't have in it are doilies. I have lots of doilies, I collect them but they are not included here since most were just brought are stateside. What is in the bag are things I might use to embellish a shirt.

I have two pieces I would not call doilies. They scream "put me on a shirt". It is just I am not sure what kind of shirt yet. They are unique, to me at least, since they are the only ones I have ever found. (Y&S)

Collars, This lace technique has been used an incredible amount to make collars. Here are the ones in the bag.

This one is broken and not repairable, it is fair game to be cut into pieces.

Here is the one out of Y&S that has become part of a shirt I wear in the summer.

Here is the completed shirt.
 
Y&S, the handkerchiefs, were dated in the early 1910's. That sort of dated everything in the box rather nicely. This piece was worn at the neck. it is actually 2 pieces so one was sewn down the other added dimension. This one is crying to be used again.

How about some wide yardage. It appears to never had been used and there is a little over a meter of it. It is a little over 6 inches wide. I bought this in Strasbourg at a flea market this last summer.

I have assorted yardage of lots of different designs. Some of these came from my husband's family. My Husband's aunt sent me a small box of lace bits years ago and there was some of this in it.  This means that this bag has sentimental value and whatever I make with it has to be fantastic or I do not want to touch any of it. So, it sits waiting for me to come up with an idea for it.
 

Here are  my token off white/ecru laces. They are not as common as bright white. The second one down is backed with netting (Y&S) and I have two of them...more on why later.

How about, what is now, a very large pile of 1-1/2 inch medallions? Some are round, some are square. Some come from the US and most from France. After I took this picture, I rounded up another dozen to toss in the bag that were new arrivals or somehow had escaped the bag.
Finally I have a set, not Irish, but of the same type of thread so it makes for a good match.
 
These are the bottom of underwear, you know, bloomers.
 
I can now spot them even if they are not round like these are by the length. Very common to find in France at flea markets. Now look at the piece with the netting backing. That must have been one fancy pair!
 
Ok, end of the digging in the bag of lace bits. I have reached the bottom of the bag.

Wednesday, November 21, 2012

A Christmas Stocking


I belong to a Quilting Guild in Germany. Every year at the November meeting they have a Christmas stocking exchange. All the stockings are placed on the table and then the fun begins! Last year I had made other plans earlier in the year and could not make it. This year I penciled it in early in the year so that I could be there.

To participate fully, they have a stocking exchange and here are the rules:
 
1.Make a stocking – the prettier, the better. People will get to choose from all the stockings on the table, and we want to see your talents!

2. Size: A4 (about 12 inches) is a pretty good height, but make any size you like. Make sure it’s large enough to enclose the gifts you are giving (more information about that below)

3. Stocking Material – anything goes

4. Pattern – anything goes

5. Line the stocking. Use interfacing, fleece or batting to add “body” to your work.

6. Add a cuff and hanging loop.

7. Fill the stocking with quilting items:

            a. Minimum:

                        i. Two excellent quilter’s quality Fat Quarters

                        ii. A treat like chocolate, candy, or similar

                        iii. Your name on a card so the recipient knows who made it

            b. Extras:

                        i. thread, quilt shop gift certificate, magazine or pattern, 
                           pins, rulers, buttons, key chain, tea, tree ornament, let
                           your imagination fly!

8. Hand sew the top of the stocking closed (with large stitches) so the goodies won’t fall out during the exchange activity!

I searched for a good stocking pattern, one that was not too fat or wonky. Everything was too big or too small for what I wanted so I ended up with the one out of an old issue of Sew Beautiful magazine.

It was huge so I had to shrink it down to an A4 size, Making sure I kept enough width for the goodies. I searched my stash for something interesting to use. The pattern from SB used lace. I was not in a lace mood. I did however have some really fun upholstery fabric. I also had some matching red fabric with snowmen on it.

For pattern making I like to use plastic sheeting, the heavy duty 4mil stuff. It comes in a package at the hardware store. I like to use plastic because I can see through it. It may cling to the fabric (could be a bad thing, I know) but it is worth that small hassle since when I need to match plaids or fussy cut something I can see right through the pattern piece.

For the lining I found some blue lining fabric, fabric content is polyester. I lined it with Sulky Tender Touch. I really like to use that product since it gives the lining enough body to stay down in the stocking. I did not have to sew it down across the top of the stocking, it  stays down by its self. Some ribbon did the trick for the hanging loop. And here is the final product.

Yes, the ribbon is sewn on backwards right now. (Made ya look, didn't I) I needed a break from it, but will go back and fix that before I give it away for the exchange.

Yes, I succumbed to the pressure of it all, there is lace on it. When I had it finished it, it was just missing something so I added the rayon lace trim at the bottom of the cuff. It added a very nice finish.

Now for goodies. That was the fun part. I have been to two sewing seminars this year and at both of them there were lots of door prizes. I have a pile of them. So I went through them and found some Sulky thread, Holoshimmer and a 30 and 12 wt Blendables that I have duplicates of and scissors that I could give away. I have a mixture of American and European candies, I found my fat quarters. I must have been in a green mood when I picked them from my stash in the States, on the last visit.
 
I am now in search of something French; I need to go get a chocolate Père Nöel for the stocking and then I am done.

Saturday, November 17, 2012

New PJ's

I have a 5 year old nephew who, the last time I visited, loved everything Batman. He had Batman shoes, Batman socks, Batman shirts, Batman backpacks, toy bat caves,  and at least 5 Batmans of various sizes. What was missing was batman PJ's.

Being the good aunt (who sews) I decided to make him some  Batman PJ's. The last trip home I went to Jo-Ann's and found Batman fabric suitable for making PJ's. On sale I found a pattern. Not the one that I wanted, that one was sold out, but it was close enough for me to make a pair that would work just fine.

To the pattern I changed one of the shirts to have long sleeves and left off the pockets and ties at the pant bottoms.
 
Returning from kindergarten one day this week, after I had completed the bottoms, I asked him to try them on. He told me he could not since it was not bed time. If he put them on he was afraid that he would have to go to bed early. It took his mom telling him that it was Ok for him to  try them on.

He informed me that he didn't like Batman anymore, his mom confirmed to for me saying he had been saying that for several days, ever since he received a large stuffed Angry Bird named Al.
 
Funny, I would have guessed it, you know, that he did not like Batman. Earlier in the week when I walked in the kitchen I found the table was covered with Batmans and "bad guys".

So now it is Angry Birds. I wonder how long that one will last. Gee, I wonder if I can find fabric out there for another pair of PJs. Of course by the time I make them, who knows what character he would want instead. Kids are so fickle!

They are a little big, which is fine, at his age kids grow like weeds.  It is getting cold now so I am sure he will enjoy them, even if he does not like Batman.

Monday, November 12, 2012

One Step Forward Two Steps Back


Remember the quilt? The one posted on 16 October? The second of the two? Of course you do, but incase you don't, here it is:
Well last trip to the United States I dug in my Quilt closet and found the proper binding fabric. I cut and brought back what I thought was enough binding strips to complete the binding on the quilt.
I was 5 inches off.   Bummer!
One of the members of the group is sewing the binding on now, but it will need to wait to be completed. Just darn. It will be the early December now before it is complete, if then.
Speaking of setbacks, I have a nouveau projet! Except it is fighting me. Normally I figure something out, it gets lodged in my brain and "poof", out comes a finished product. This one is not quite doing that and I do not know why. So here is the start of it.

The pattern is a common long sleeved shell that I have cut down the center front to make more of a jacket. I have some really great butterfly embroidery designs. Actually I have very many much's of butterfly designs, you see, I am a sucker for butterflies. Any type, any size, I am sew there! The ones I am referring to as "great" are from Zűndt out of Switzerland. I have wanted to use these designs forever. I just needed the proper idea.
Over the summer I traded an old linen sheet with a ladder or faggoting stitched top edge for many yards of lace tape. Linen sheets for me are rather easy to come by. Lace tape not so easy. For the person I traded with, the lace tape was not something she was going to use and linen French sheets were hard to come by. It was a good trade for both of us

The lace tape is in an off white color and each piece is about 2 yards long. This tape is one of my front and center inspiration pieces in my sewing room that I want to do something with.

Finally, the idea hit me. I made copies of the embroidery butterfly designs.

I plotted out the colors I wanted to use. I tested threads and colors for what I wanted to do with the lace tape.

I started embroidering.

First setback - The darker blue does not work on the butterfly. Unexpected since it did work on the test. I can redo the front piece with a better blue.

Second setback -  While cutting the embroidery design from the stabilizer, I cut through the shirt back piece. It is not repairable. No, one cannot embroider a flower in its place.

Third setback - I don't have enough fabric to replace the back - this is a show stopper. But can be fixed, I just need to buy the last of what was there at the store.
 
When something fights me like this, it is time to stop and re-evaluate. I think another fabric might work better, something heavier perhaps. Maybe I don't want to use the lace tape on this.  Would lace work better? With the bad front I have been experimenting. I took the lace tape and added color to it with a Sulky Blendables with the same colors as the embroidery designs. I have pulled lace from my stash. So far nothing is working, but it is early in the process since the process has to start over. If I need more fabric to play with I have the back of the shirt to play with too.
So here is the idea to date before I had issues with the scissors.
The front with a test of colors for the lace tape. Did you know it is dark in France now until almost 8am? I work in the mornings or when I get home from work. Ya, it is dark then too. Nice pictures are hard to take in the dark. even with the ceiling light.
Here is the back with the two fronts, one with a bad blue color. Never mind that it is there, you can not see it anyway.
Of course it will need old lace somewhere and here was one of the trials I rejected. One really does not know until the embroidery is completed though.
Rest assured, when this gets finished it might not look like this anymore.